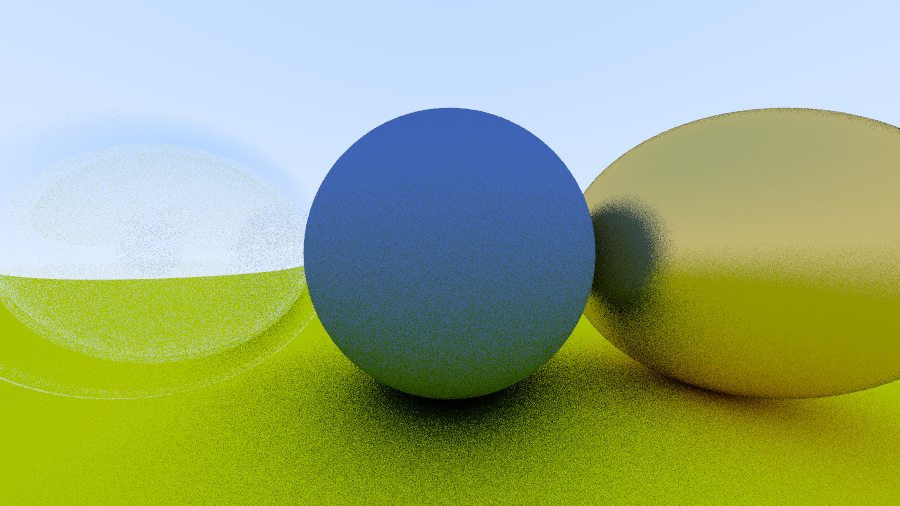
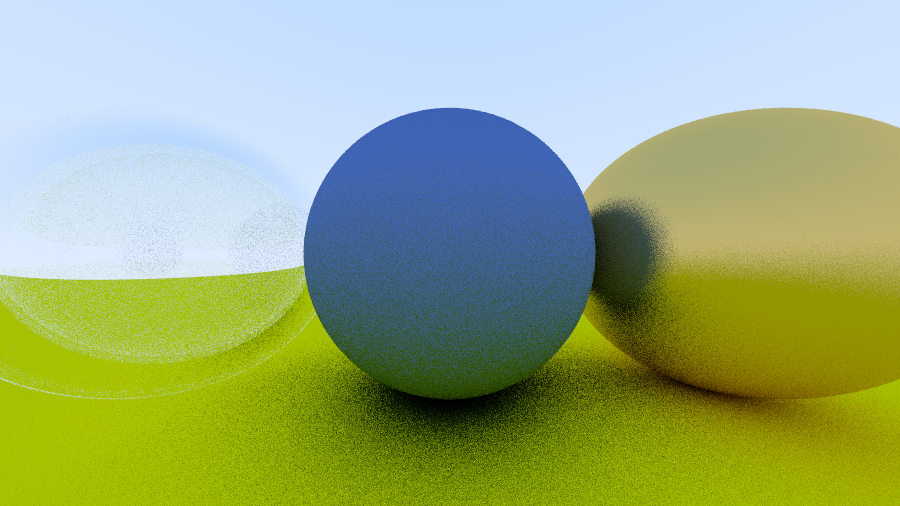
My extensions to Ray Tracing in One Weekend
Context
Earlier this month I decided to step through Ray Tracing in One Weekend. A high-school level understanding of vectors is necessary to understand what the program is doing but it’s not necessary to implement it. In fact, I believe this short tutorial can offer more to programmers starting out beyond just ray tracing.
The code is written in C++ but any language is fine. The worst you may face with a higher level language would be slower render times.
I would recommend this as a first big project. The project asks students to
build a project that spans many files and create many classes. Additionally,
certain decisions (like aliasing color to a vec3) have pros and cons and
are worth discussing.
The code provided is clear and succinct making it easy to extend and modify.
Extension: Writing the image
The tutorial makes use of a ppm file format. This format is quite verbose
and doesn’t lend itself well to larger images. If only we could make use of
a ubiquitous image format…
Attempting to implement a to-spec image encoder might be overkill. Usually there are libraries/packages available for your language of choice. Learn how to make use of other people’s code (not trivial for C++) and how to read their documentation.
If you are going for C++, Shirley recommends stb
but I went for lodepng.
Extension: Parallelisation
This extension can be added as early as 2.3 but could be added at any point during the process. In fact the performance difference is probably most clear later on as our scene becomes more complicated.
One of the nice features of ray tracing is that each ray is only dependent on the static, unchanging world provided at the beginning of the program. Since none of the rays depend on each other parallelising this process can be very easy.
Most languages provide a way to parallelise a for loop (at least that I know of) and it would be a good way to get your feet wet with the concept. Building worker threads might be another option.
As a hint, I used a std::for_each loop with std::execution::par_unseq in
order to make my program platform agnostic.
If you do this right you should see an increase in performance. You might also discover
that the Scanlines remaining message becomes garbled. It may be good to think about
why this happens (why isn’t printing apparently thread-safe?). Afterwards, figure out
how to display this properly.
I personally used a mutex but I’m pretty sure there are better ways to do this.
Extension: Improving the metal material
This extension is more about vector operations than programming so feel free to skip.
In 9.6 we add fuzziness to our reflective metal sphere. As the metal gets more diffuse you may notice a blackened edge for the sphere.

The diffuse metal is meant to approach the Lambertian we created earlier. The speckled black dots should not be there. Why is this happening? Hint search for “grazing rays” in the tutorial
There are a variety of solutions available (I personally don’t know how accurate some of these will be). Implement your solution.

